


When I was young, and even when I got older, I would spend a lot of time baking with my grandma. I called her Nanny. She passed away a few years ago, and I acquired a few of her baking pans. I treasure them, and when I used one recently to make one of her recipes for the first time, I actually got really emotional. We get quite close to people, don't we?
Anyway, I've had this cooling rack sitting here in my piles of craft supplies. Honestly, I'm not sure if it was Nanny's or another family member's, but she did have several just like this, so I choose to remember it as hers. There are a few of the cross pieces broken off, which is why it ended up looking for another use, other than cooling baked goods. I've considered lots of ways to use it, but when weaving started coming around again, I knew it was time to get making.
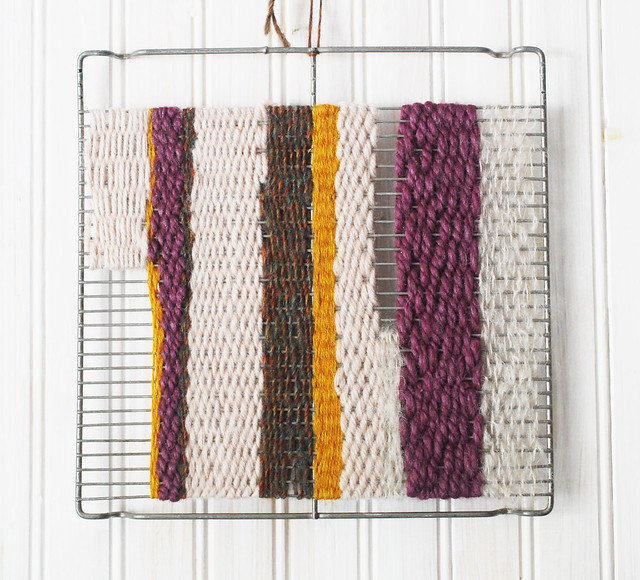
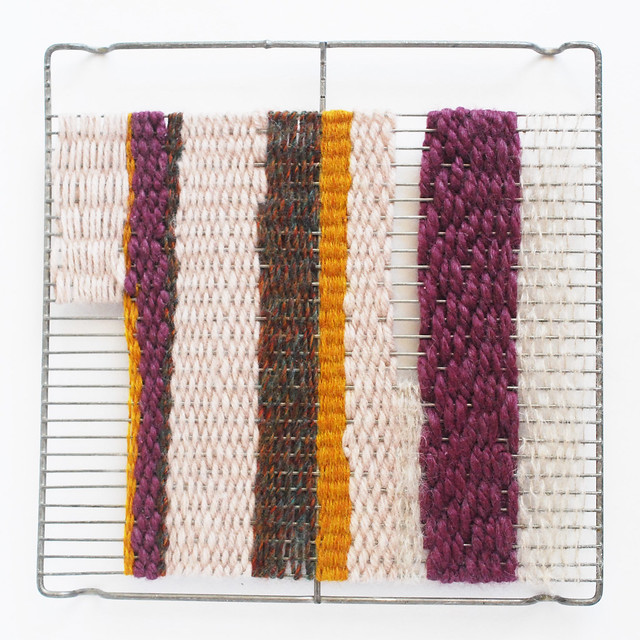
There's nothing difficult about making an art piece like this. Just be aware that unlike traditional weaving, you won't be removing the frame. Once it's woven, it's all staying as one piece. Which is really the point here. I want to have this wire rack hanging on my wall. And even if you don't have a cooling rack with sentimental value (I may be the only person in the world who does!), it's still a fun way to add some vintage into your new creation.
Here's what you need:
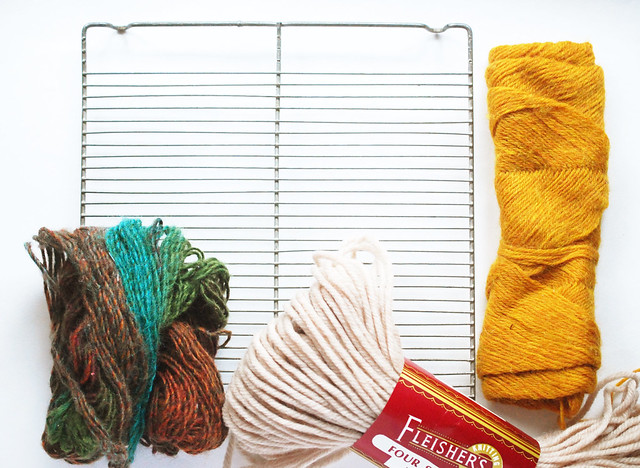
Vintage cooling rack
Yarn
Cardboard
Scissors
Cut some strips of cardboard. I made three, and each is a different width/length. The largest is good for as you're getting started and you have more space to work. As you fill in the rack, you'll need the narrower strips.
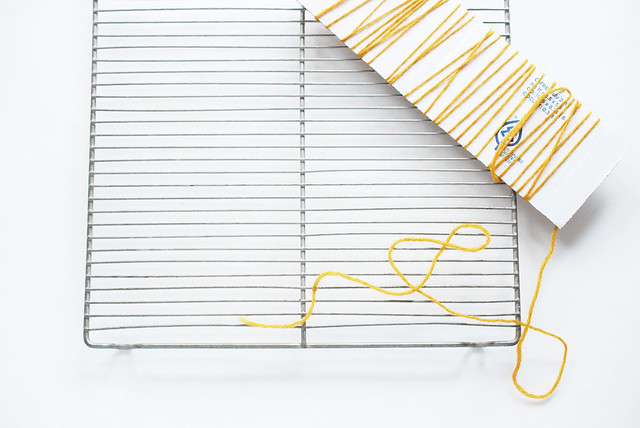
Wrap some yarn around a cardboard strip, and what? It magically turns into a shuttle!
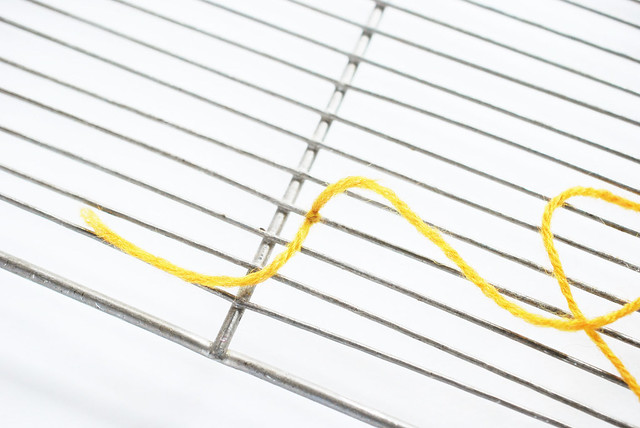
Tie a knot onto one of the cross pieces, leaving a long tail. Actually, you can do this without the knots, you just need to hold the end in place as you get started. I found the knot to be a little easier. Weave the tail in, and make sure the very end is to the back of your work.
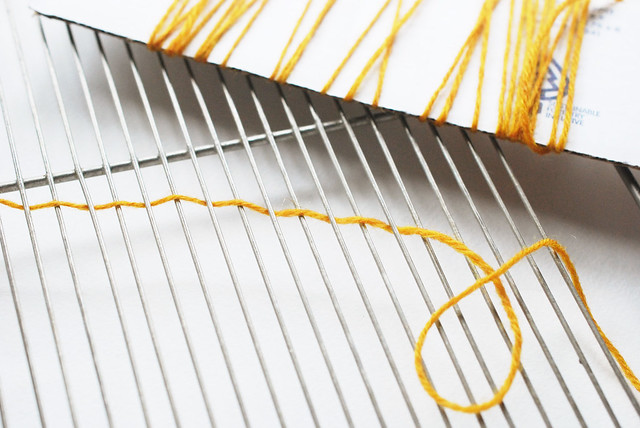
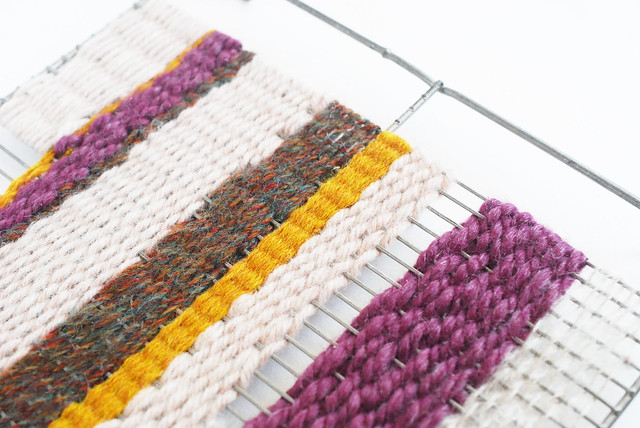
Start weaving the yarn through the wires. It helps to hold the rack flat, then keep the shuttle vertical as you work up and down through the gaps. After you've covered 1/3 to 1/2 of the width of the rack, pull the yarn taut.
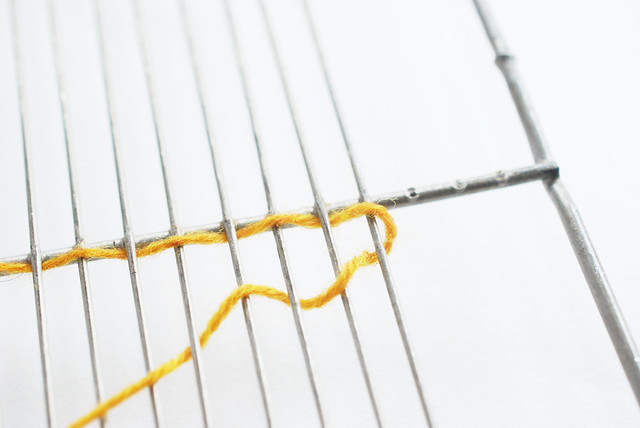
When you reach the end, wrap it around and go back to the other side.
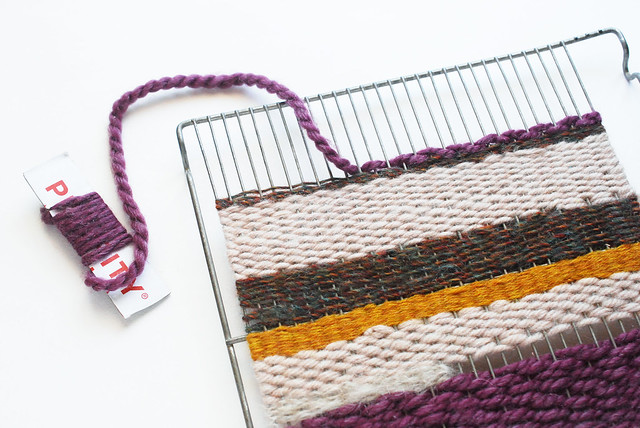
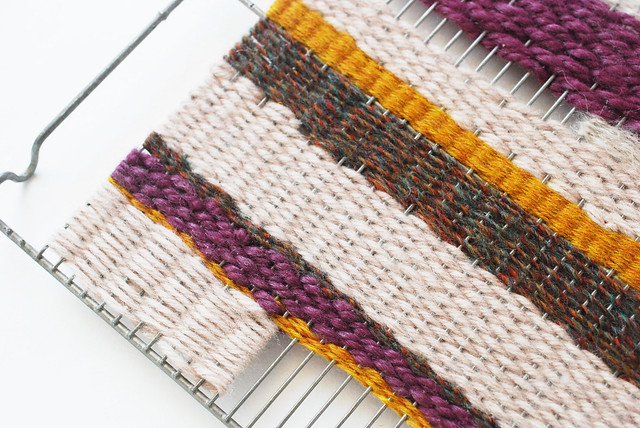
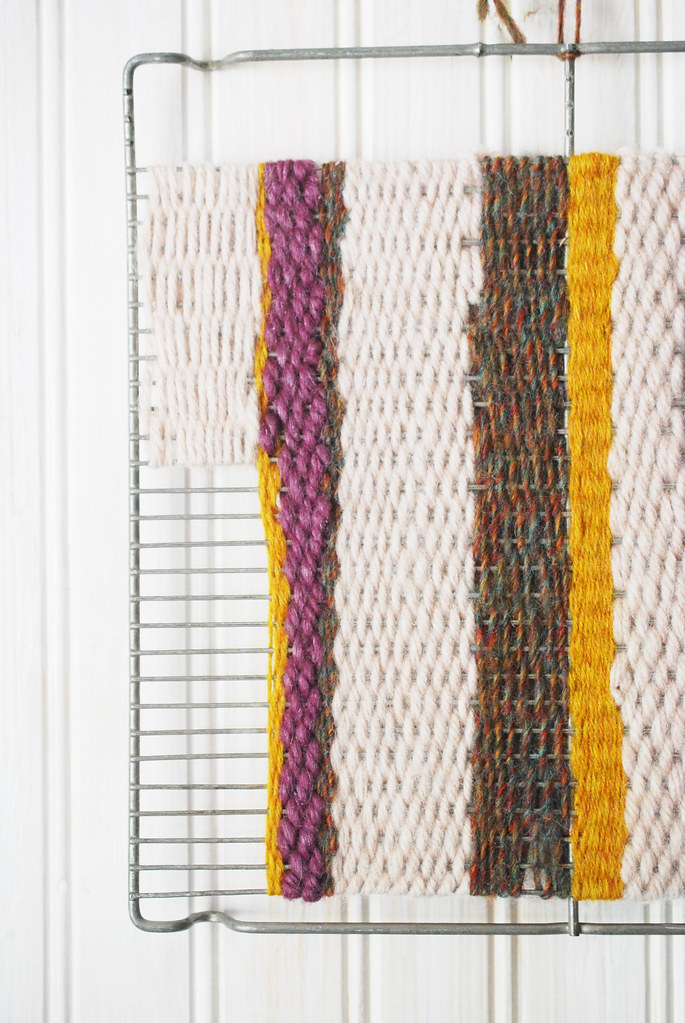
Switch out the yarn and keep going. Using different colors, weights, and textures is what makes it visually interesting. You might also try skipping over two wires instead of one to make a different pattern, or leaving some sections looser or even blank.
When you get close to the edge, you'll need one of the thinner cardboard shuttles. It also helps to scrunch your weaving tight, then when you can't fit the shuttle in any more, finish off your yarn and loosen up the weaving to fill in the area a bit.

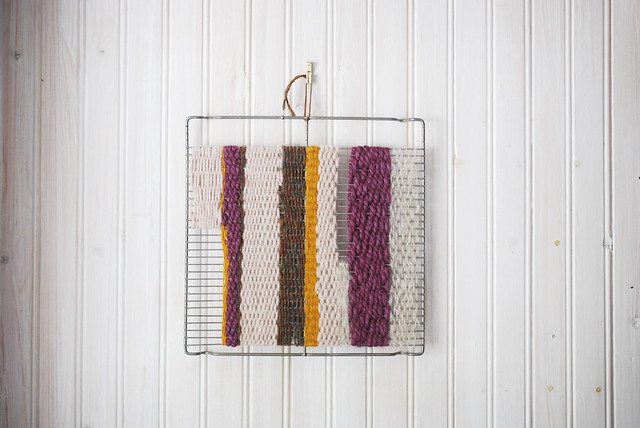
To hang mine, I used a piece of yarn tied at the center support.

It's probably silly, but this makes me ridiculously happy. An added bonus is that some of this yarn was also Nanny's. Getting to making something with a few of her things means a lot. Long after weaving has gone off trend again, I'll be admiring this and thinking of her.
I just love this! I can see my granddaughter making this ~
ReplyDeleteYou should make one together!
DeleteI adore this idea, it looks beautiful! x
ReplyDeleteSweet and such a nice way to remember your Nanny.
ReplyDeleteI love this idea! Like Mary Ellen, I can see doing this with my grandchildren. It's a perfect set up for a portable weaving loom in a small space! I pinned it and will be setting it up as soon as their mama returns to work! Thank you!
ReplyDeleteThis made me cry, Mollie, as I have been thinking so much about my Grandma lately and how I wish she was still here with us! There would be so much to learn from her! I want to try this...right after I ever finish the 50 States Quilt, which I haven't even started yet! LOL. Hey, the weaving may need to come first!!! Thanks for this great idea!
ReplyDeletexoxo- Julie
That is a really neat idea. Great art piece but I wonder what other uses it could have? Hanging drop earrings? If it was woven quite densely, maybe as a tackboard? I'll have to keep an eye out at thrift stores for a wire cooling rack! :)
ReplyDeleteGreat ideas! I also thought maybe a trivet, though you wouldn't want food to get on it.
DeleteSo pretty!!! Love it and the sentiment
ReplyDeleteLOVE this idea! Will definitely have to try this out. :)
ReplyDeleteThis is a work of genius!
ReplyDeleteThank you so much, Diane!
DeleteI love this! I have bags of my mom's and grandmother's skeins of old yarn... This will be great family art.
ReplyDeleteLove, love, love it!
ReplyDeleteGreat idea! Good way to use up some of my straps of yarn!
ReplyDeleteI'm not following what the cardboard is used for? Please explain.
ReplyDeleteI used the cardboard to hold the yarn (sometimes called a shuttle). It makes it a lot easier to pass a long piece of yarn back and forth through the wires.
Delete